

When working with any system, no matter an accounting system or a data warehouse, knowing what is happening with your data is important. People can make mistakes when entering data, such as selecting an incorrect account number. This article will show an example of how to create a report in Solver to manage new records.
The Solver dimensions and fact table (where the transactions are stored) all share many standard columns, two of which are Created On and Updated On. By using these columns in a report, you can know what’s happening with your data.
Let’s look at creating a report to track when accounts are created.
We’ll examine two methods of creating reports: Ad Hoc and Report Designer.
Ad Hoc
Select Ad Hoc Reporting from the navigation pane.
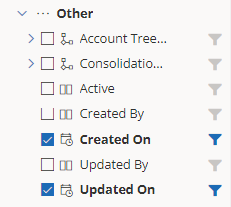
Select these columns from any module that contains the Account dimension:
- Account
- Account Description
- Created On (select the Other option at the bottom of the column list)
- Updated On (select the Other option at the bottom of the column list)
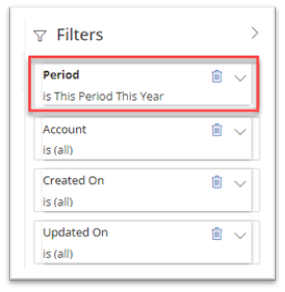
Remove the Period filter.
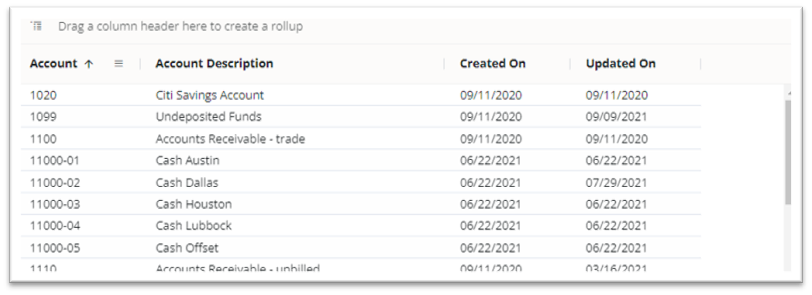
Select Refresh to view the report.
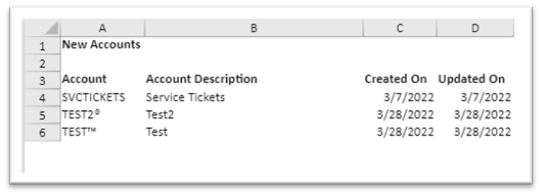
You should now have the initial output.
To enter a range, such as to check for accounts created within a range, select the Created On filter.

Enter a date range and select Refresh.

If you want to save the report, enter a name in the “Click here to name your report” field.
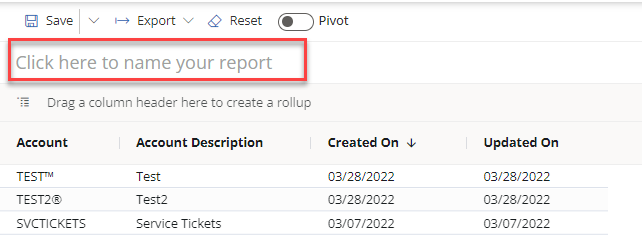
Now you have a report you can run each month to check for new accounts to reduce duplicate or incorrect entries.
Report Designer
Go to Report Templates.
Select New to create a report.
Add the same columns we used for the Ad Hoc report:
- Account
- Account Description
- Created On (select the Other option at the bottom of the column list)
- Updated On (select the Other option at the bottom of the column list)
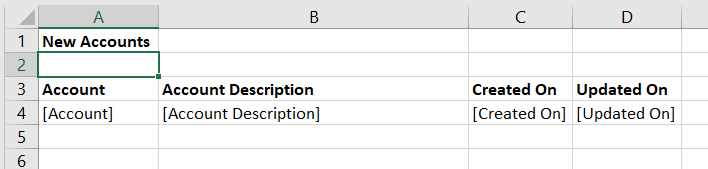
Format the two date fields as Short Date.
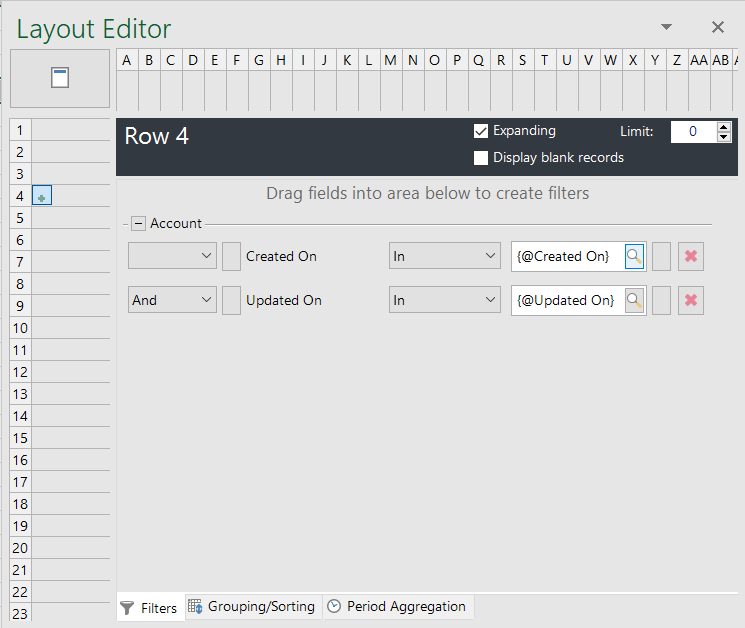
Drag Created On and Updated On to the Layout Editor on the row.
Select the lookup button for the Created On filter.
Select the Parameter tab.
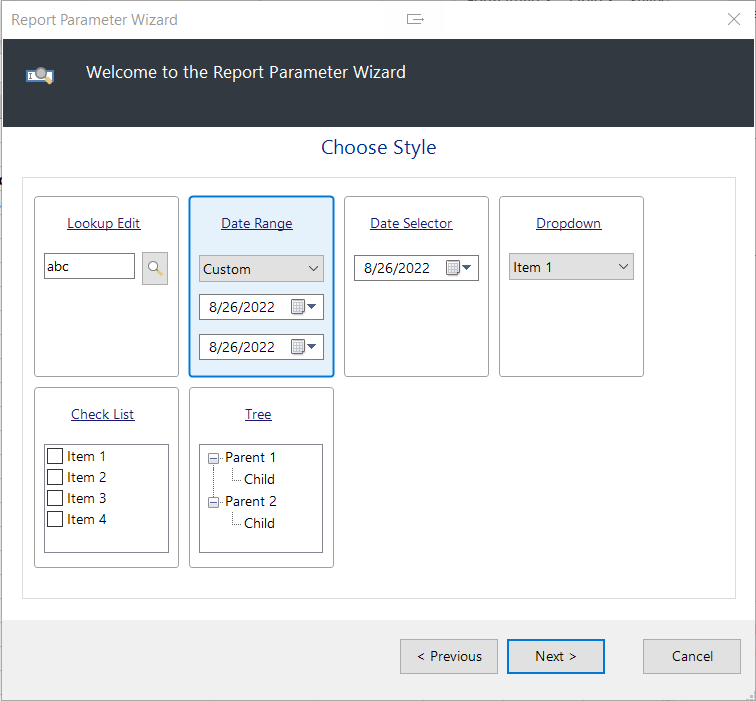
Use the Report Parameter Wizard to create a parameter.
Select the Date Range style.
Repeat the steps for the Updated On filter.
Your layout should look like the next image.
Save the report and close it.
Then, publish the report in the portal.
Next, run the report.
Select the Created On Date parameter.
Enter a date range.
To enter a custom range, select the Custom option at the bottom of the list.
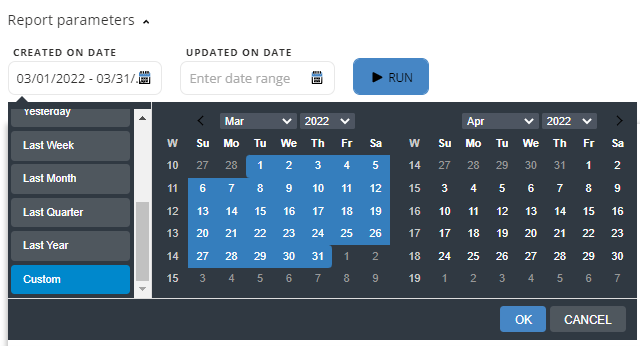
Repeat the steps for the Updated On Date.
Select Run.
Voila!
Now you have a report you can view each month.
If you find this information helpful, let us know. The Technology Consulting practice at FORVIS stands ready to support your needs. For more tips or to book a Solver demo, reach out to a professional at FORVIS or use the Contact Us form below.