

Positive Pay files in Business Central can play a crucial role in helping to prevent check fraud. Positive Pay is an enterprise resource planning (ERP) feature that can generate an electronic list of checks that can be presented to a bank. You can generate an electronic list of checks with Positive Pay every time that checks are printed.
This information can help your bank only clear validated checks and amounts by cross-referencing the data in the Positive Pay file. If a check matches a check in the list, the bank clears it. If a check doesn’t match a check in the list, then the bank holds it for review.
Positive Pay can be set up for many banks. Currently, Business Central is preconfigured to support Positive Pay files for Bank of America and City Bank. For other financial institutions, review and plan for specific requirements such as file formatting. Then, you can set up Positive Pay by following these steps.
Set Up an Account for Positive Pay
- Create a Data Exchange Definition in Business Central to export the data in the format that meets the bank’s specific requirements. Your bank can provide the correct format needed for the Positive Pay export file.
- Add this Data Exchange Definition to the Bank Import/Export page.
- Then, in the Business Central search tool, enter “Bank Accounts,” and choose the bank account you want to use for Positive Pay.
- In the Positive Pay Export Code field on the bank card, enter the code that has been created in the Bank Import/Export table.
- Close the page to save the settings.
Export a Positive Pay File
Once checks are printed, you can export a Positive Pay file with the following steps:
- Select the bank account.
- Choose the Positive Pay Export action.
- Specify a cutoff upload date to include payments made since the last upload.
- Save the exported file to a safe and convenient location.
- Upload the file to your electronic bank site.
View Exported Positive Pay Records
To view exported Positive Pay records:
- Select the bank account.
- Choose the Positive Pay Entries action.
- Enter the confirmation number received after successful file upload.
Reexport Positive Pay Files
When you export Positive Pay through the standard bank account card in Business Central, it automatically removes the lines that were included in the exported file. As a result, if you need to generate the same file again, you cannot use the same process as before. In other words, once you’ve exported the Positive Pay file, the original lines are no longer available for subsequent exports using the same method.
A common reason why you may need to reexport Positive Pay files is that you lost or can’t access the original file.
Using the method below, here’s how you can reexport Positive Pay files in Business Central.
- Navigate to the Bank Accounts list.
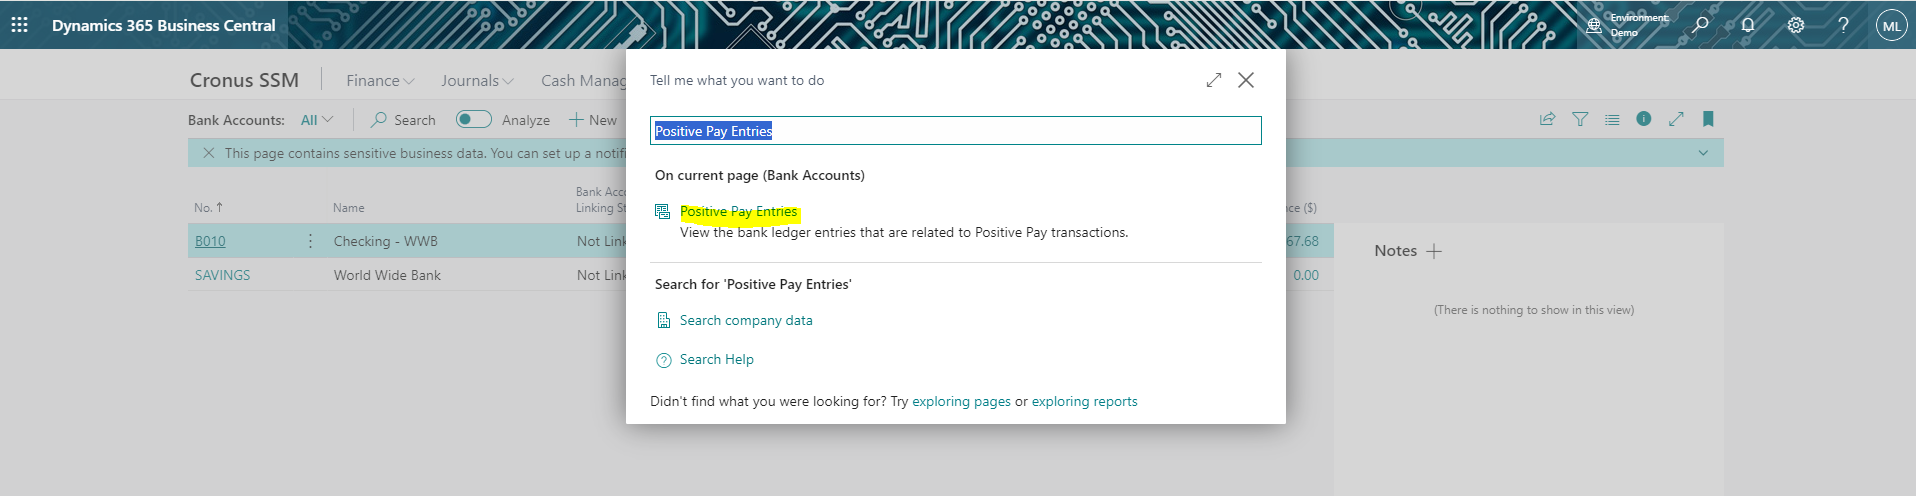
- In the search tool, enter “Positive Pay Entries.”
- Select the related link (highlighted below). This will open a new page where you can find the file you want to reexport.
- Then, select the line you want to reexport.
- Next, choose the Reexport Positive Pay to File action (highlighted below). This will create the TXT file for you.

The Positive Pay feature can help safeguard your financial transactions and the integrity of your checks. If you’d like additional help on how to use Positive Pay in Business Central, please connect with us. The Business Technology Solutions team at FORVIS is a Microsoft Partner, and our technology consultants have certified experience with Microsoft Dynamics 365 Business Central and other business applications.