

In this post, we’ll describe how to change ownership records in Microsoft Dynamics 365 using the latest version. Ownership records for entities such as accounts nearly always are assigned to a specific user or team.
There are many reasons for changing ownership records, including assigning sales and marketing tasks and responsibilities to team members, securing sensitive data, and sales pipeline reporting. For these reasons, it's important to maintain appropriate record ownership information. In instances like these, you can assign a group of accounts or contacts to different users using the “assign” option.
There also are times, such as the departure of a salesperson or reorganization of territory, when many or all records need to be reassigned. In cases like these, a best practice is to use a feature available to your Microsoft Dynamics 365 administrator. Below we'll show you how to transfer ownership for all records belonging to a user or team.
How to Change Ownership Records in Microsoft Dynamics 365
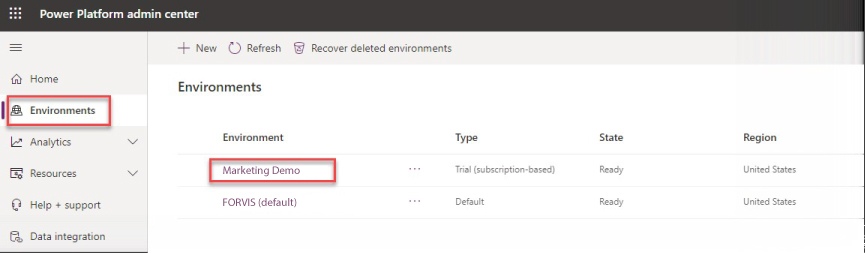
- Open the Power Platform admin center, navigate to the Environments tab, and select the environment in which records need to be reassigned:
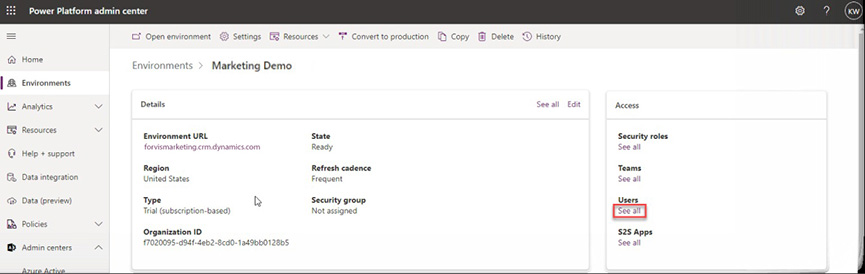
- Next, select See all under Users in the Access area:
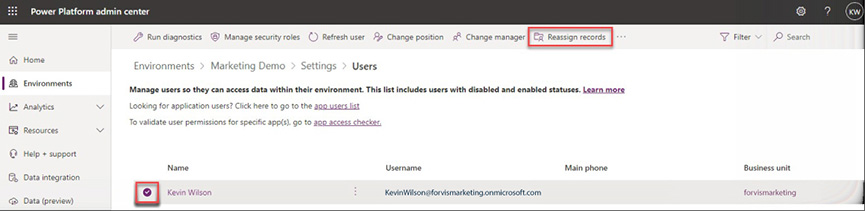
- Select the check box next to the name of the user whose records should be reassigned and click Reassign records from the toolbar:
- Select Assign to … Another user or team (unless the records will be assigned to yourself) and find the appropriate user/team. If you’re assigning records to yourself, choose Assign to … Me.
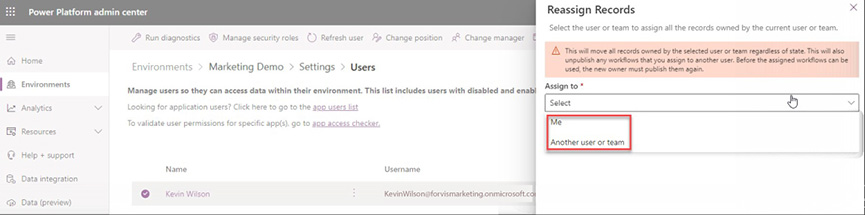
- Finally, click Reassign to complete the process.
That’s it! Record ownership should now be updated.
Note: If there are related tables and the relationship behavior is set to parental, updating the record owner can have a cascading effect. See “About the assign action.”
Now that you know how to change ownership records in Microsoft Dynamics 365, what other Microsoft Dynamics 365 challenges can we help you solve?
Get in touch with the Business Technology Solutions Team at FORVIS by using the Contact Us form below. We are a Microsoft Dynamics Gold Partner and have certified experience in CRM and ERP business systems.